|
| I was generously sent this eraser and asked to do an honest review of it. It came from dollar tree (cost $1.00). Apparently it comes in many different designs. This one happens to be a sweet cake of some kind. |
 |
| Close up of the front |
 |
| This is the back of the eraser. As you can see it will need work before carving. |
 |
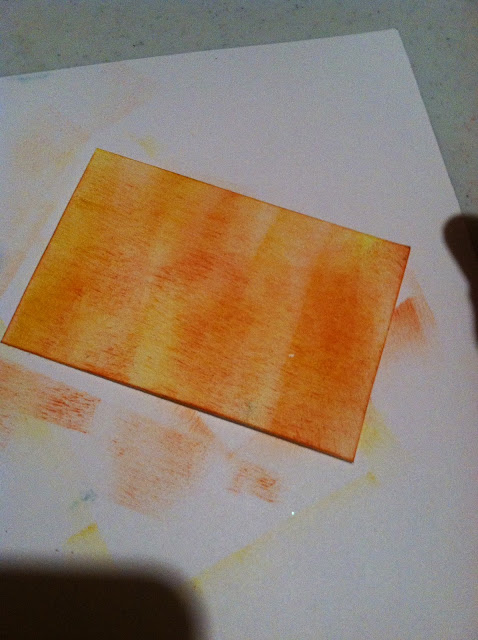
| I used Acetone to remove the writing - the painted cake is on the other side. You can see eraser left overs from rubbing the material. I was hoping this was just from treating the material with acetone to remove the writing. That was not the case. I dealt with those the entire carve. |
 |
| To finally get a smooth crumb free area. I took a rag with acetone and laid it over the top and gently wiped the material. This took a few minutes. |
 |
| After letting the material sit until it was no longer wet or tacky (30 min.) I transferred an image using acetone. I did not dare try anything else as I finally have a clean area. |
 | |
| Ready to carve |
 | |
| I started off with a 1v gouge around the outside. It was a "getting a feel for the material." I also started with an exacto knife. The knife did not cut this material well at all. The eraser does not have a constant consistency to it. I found hard areas in the block. You can see on the picture that there are jagged cuts where the blade went around something in the material. |
 |
| I grabbed the gouge. I tried to show some markings in the material. In some areas the gouge slid right through, but in others it skipped. |
 |
| Here is the printed stamp. It you can really see the jump marks and issues right away. |
 | |
| Personally this is a terrible carve for me and I am embarrassed that I could not get a cleaned cut not matter how hard I tried. It is extremely rubbery. |
Summary:
You can carve this material. This would be a great block to learn your tools on as long as you eventually move to aother. I have been carving both wood and rubber for over 10 years and struggled to get clean lines. My fear would be that if someone stayed on this material they might get discouraged that their carvings are not getting better.
This material will hold up well in the heat.
This material might be good to make background shadows for LTCs as it hold ink well.