Showing posts with label carving stamps. Show all posts

Monday, August 4, 2014

Small Cross LTC


I was asked how I make contrast and why I use more white paper than others.

First off I use white card stock. Although I do add other papers to my work I enjoy the simplicity of working with white.  It also is easier to use up scrap papers.

The following card is all white except the blue/purple paper in the back.

Here is my finished work


Here is how I reached it:


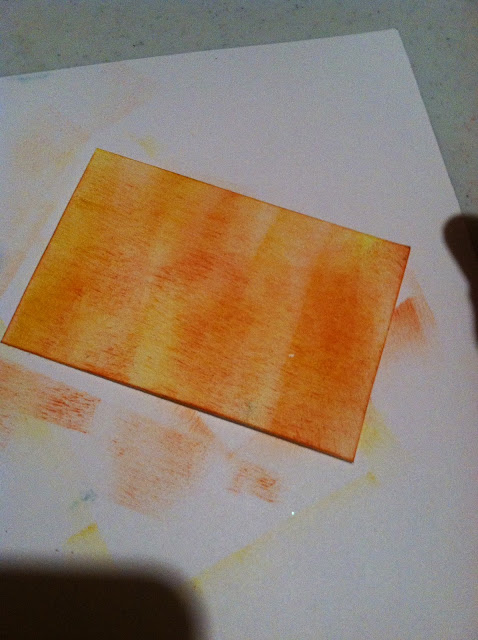
I did not take a pic, but I spritz this piece too and added red ink to the sides with an ink pad.


A super quick carve on pink block.  

Stamped image


Using the same inked pad (I did not add any ink) I started on the side and spread it towards the middle.

Soaking up the left over spray.


This is very messy so I used pliers.

All 4 sides covered.

Dabbed a bit of red on.


Using a chalk dabbed to add just a tad bit of aqua blue.


Defining the sides

You can see the difference between the sides with and without the black. I usually do a dark on all the side so no white shows


Glued together.


Friday, July 18, 2014

Acetone Transfer

Transferring an imag with acetone is pretty simple.

Start off with a bottle of acetone.  There are many brands.  You can find it at any home improvement store or hardware store.


Once you have your bottle you will need paper towels.  (You can use rags, but there can be danger in mixing chemicals in the washing machine). Paper towels are cheap and disposable. 

Gentle put your paper towel over your bottle and tip it.  


Here is a scrap piece of OZ material. 

I took my paper towel with acetone on it and rubbed it gently. (I did this twice- took take off the shiny layer)

You can see that the OZ is slightly wet, but not saturated.  It will dry within seconds.


Find your image.  I am using a pretty solid image so it shows up for a picture.
Lay your image upside down on the carving material.


Place your papertowel over the bottle and tip again.  The paper should be wet, but not dripping.
Dab your image lightly.  You will see the image through the paper clearly.  If you would like, gently lift one corner to double check.


Be careful not to leave the papertowel on the image too long!


If you look closely the upper part of the image is transfer very clearly, but the bottom is smeared with some bleeding.


If your paper sticks to the carving material. Dab it slightly and it will come up.

I took acetone and rubbed it on the transferred image.  It lightened it.  If you have very fine details in your image that seem hard to see, often this trick will help.

Happy carving!